Creating Birthday Photo Cookies is a unique and personal way to celebrate birthdays. Start with a simple sugar cookie dough, incorporate food coloring or sprinkles aligned with the theme, and embed small photos for a special touch. After baking, decorate with edible icing or sprinkles, ensuring each cookie becomes a one-of-a-kind keepsake. Present them stylishly to make any birthday celebration memorable.
Celebrating a birthday with homemade cookies is a delightful treat! Crafting personalized Birthday Photo Cookies allows for creative expression and makes the occasion memorable. This guide takes you through the process, from choosing a theme to decorating and icing your creations. We provide simple recipes, helpful tips, and innovative ideas to ensure your Birthday Photo Cookies are not just delicious but visually stunning as well. Get ready to bake up a storm and create a unique birthday experience!
- Choosing the Perfect Birthday Cookie Decorating Theme
- Gather Your Ingredients for Easy Birthday Photo Cookies
- Basic Sugar Cookie Dough Recipe and Tips
- Creative Ways to Personalize Your Birthday Cookies
- Simple Icing Recipes to Compliment Your Cookies
- Baking and Presenting Your Birthday Photo Cookies
Choosing the Perfect Birthday Cookie Decorating Theme
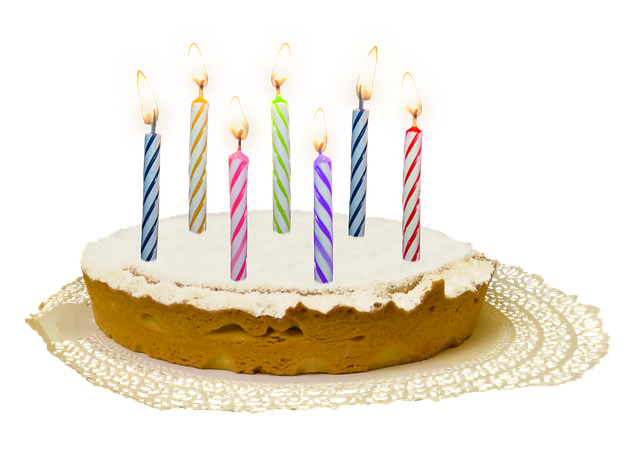
Choosing a theme for your birthday cookie decorations can make or break the overall presentation and impact of your sweet treats. It’s an opportunity to personalize your cookies, making them unique and memorable, especially for the special person celebrating their big day! Consider the recipient’s interests and hobbies as a starting point. For instance, if they’re an art enthusiast, you could create cookie masterpieces that resemble famous paintings or abstract designs. Alternatively, for a more playful theme, choose characters from their favorite books, movies, or TV shows to decorate your cookies with.
Birthday photo cookies are also a popular and meaningful choice. You can use cookie cutters in the shape of the birthday boy or girl’s face, or even create intricate designs incorporating their photograph. These personal touches add an extra layer of sentimentality and can be a fun way to involve the birthday person in the preparation process.
Gather Your Ingredients for Easy Birthday Photo Cookies
Creating personalized Birthday Photo Cookies is a delightful way to celebrate any special occasion. Before you begin, ensure you have all the essential ingredients on hand. Basic cookie dough typically includes flour, butter, sugar, eggs, and baking powder—staples found in most kitchens. For the festive touch, consider adding food coloring or sprinkles to match the birthday theme. Some recipes even suggest using cookie cutters shaped like birthdays or anniversaries for an extra creative flair.
Once you’ve gathered your ingredients, the next step is to prepare your dough. Mix and knead until smooth, then roll it out to a thickness suitable for cutting shapes. This foundation ensures that your Birthday Photo Cookies turn out perfectly—a crucial element when they’re meant to showcase a special moment or message.
Basic Sugar Cookie Dough Recipe and Tips

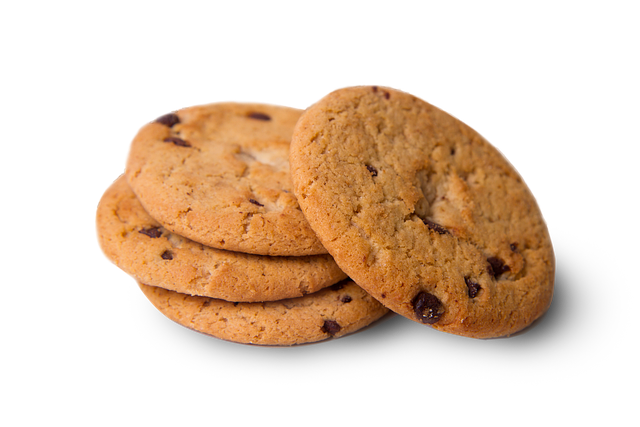
Create a classic treat for any birthday celebration with our easy sugar cookie dough recipe, perfect for making personalized birthday photo cookies. Start by combining 2 and a half cups of all-purpose flour, one teaspoon of baking soda, and a pinch of salt in a mixing bowl. Cream together 1 cup unsalted butter (softened) and 3/4 cup granulated sugar until light and fluffy. Beat in an egg, followed by 1 teaspoon vanilla extract. Gradually mix in the dry ingredients until well incorporated. Roll dough into balls, flatten slightly, and place on a baking sheet to bake at 350°F for 9-11 minutes, or until golden brown. Cool completely before decorating with colored icing and sprinkles to create unique and personalized birthday treats that everyone will love!
For an extra special touch, consider adding photos or messages using edible food coloring or cookie decorations. This simple recipe offers a blank canvas to unleash your creativity and make these cookies a memorable part of any birthday celebration.
Creative Ways to Personalize Your Birthday Cookies
Adding a personal touch to birthday cookies can make them even more special. One creative way is to incorporate Birthday Photo Cookies. You can embed small photos of the celebrant into the cookie dough or use edible food coloring to create their likeness on the cookies. This adds a unique element that will surprise and delight your recipients.
Additionally, consider using customizable cookie cutters with names or simple designs to make each cookie one-of-a-kind. You can also decorate them with personalized messages written in icing or fondant, making them not just delicious but also meaningful mementos of the birthday celebration.
Simple Icing Recipes to Compliment Your Cookies

Enhance your birthday photo cookies with simple icing recipes that complement their sweet charm. For a classic look, try a vanilla buttercream by combining 1 cup unsalted butter, 3 cups powdered sugar, 2 teaspoons pure vanilla extract, and a dash of salt until smooth. This versatile spread is perfect for decorating any cookie shape.
For a more adventurous twist, opt for a chocolate ganache icing. Melt 1 cup dark chocolate chips with 1/2 cup heavy cream, then cool slightly before stirring in 1/4 cup unsalted butter and 1 teaspoon vanilla extract. This rich, glossy icing will elevate your birthday photo cookies into true works of art.
Baking and Presenting Your Birthday Photo Cookies

Baking Birthday Photo Cookies is a delightful way to personalize and elevate your birthday celebrations. After mixing up your chosen dough, roll it out to a suitable thickness and cut out shapes or letters using cookie cutters or even small bottles and cans for unique designs. Place them on a greased baking sheet, allowing space between each cookie for even baking. Decorate with a variety of toppings such as sprinkles, chocolate chips, or colored icing, ensuring your creations are visually appealing. For an extra special touch, consider adding photos—cut them into small pieces and use them as decorations, transforming your cookies into true Birthday Photo Cookies.
Presenting these homemade treats is just as important as baking them. Consider using pretty cookie jars or trays to display your creations, especially if you’re taking them to a party. Alternatively, tie each cookie with colorful ribbons or twine for individual gifts. This thoughtful presentation will make your Birthday Photo Cookies stand out and create memorable moments on the big day.